


How to Setup a Virtual Number on Your Mobile Phone
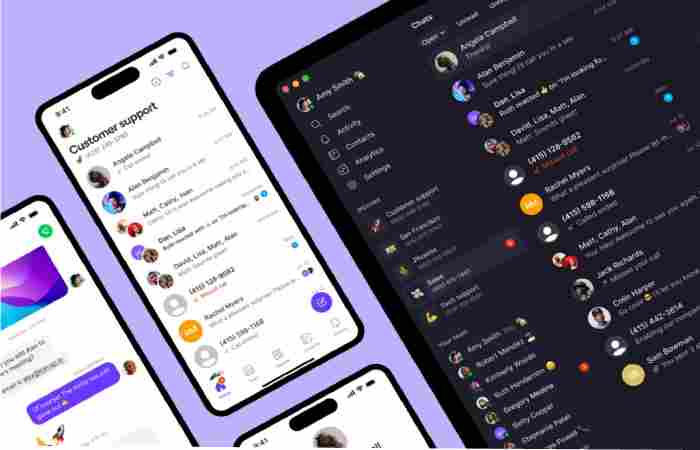
Want a second phone number without buying another SIM? Setting up a virtual number on your mobile is fast, cheap, and useful — whether you need extra privacy, a business line, or a temporary number for selling stuff online. This guide walks you through everything: what a virtual number is, the best services, step-by-step setup for Android and iPhone, common settings (call forwarding, SMS), and troubleshooting tips. Let’s get you a working virtual number today.
How to Setup a Virtual Number on Your Mobile Phone
If you want privacy, a second business line, or an international number without buying another SIM card, learning how to setup a virtual number on your mobile phone is the smartest move you can make.
I’ve personally seen freelancers, business owners, and even students use virtual numbers to separate work and personal calls. The best part? You don’t need extra hardware. Just your smartphone and an internet connection.
Let’s walk through it step by step in the simplest way possible.
What Is a Virtual Number?
A virtual number (also called a VoIP number) is a phone number that works through the internet instead of a traditional SIM card.
It allows you to:
-
Make and receive calls
-
Send and receive SMS (in many cases)
-
Choose numbers from different countries
-
Use multiple numbers on one phone
Unlike a physical SIM, virtual numbers are managed through apps.
Popular providers include:
-
Google (Google Voice)
-
TextNow
-
Skype
-
RingCentral
Before we jump into setup, here’s why people use them:
-
Separate business and personal calls
-
Protect privacy on online platforms
-
Get an international number
-
Manage remote teams
-
Avoid sharing personal SIM number
If you run an online business, this is almost essential.
Step-by-Step: How to Setup a Virtual Number on Your Mobile Phone
The process is similar across most apps.
Step 1: Choose a Virtual Number Provider
Select a reliable provider based on your needs:
-
Free personal use → Google Voice or TextNow
-
Business use → RingCentral
-
International calling → Skype
Check:
-
Pricing
-
SMS support
-
Country availability
-
Call quality
Step 2: Download the App
Go to:
-
Google Play Store (Android)
-
Apple App Store (iPhone)
Search for your chosen provider and install the app.
Step 3: Create an Account
Sign up using:
-
Email address
-
Existing Google account (for Google Voice)
-
Business email (for business providers)
You may need to verify your identity or link your real phone number for activation.
Step 4: Choose Your Virtual Number
Once registered, you’ll be able to:
-
Select a country
-
Choose an area code
-
Pick from available numbers
Some providers let you customize the number partially.
Choose a number that fits your brand or location if using for business.
Step 5: Verify and Activate
Most services require verification through:
-
SMS code
-
Email confirmation
-
Linking an existing mobile number
After verification, your virtual number becomes active.
Step 6: Configure Settings
Now customize:
-
Call forwarding
-
Voicemail greeting
-
Business hours
-
Auto-replies
-
Notification preferences
This is especially useful if you’re using it for professional communication.
How Calls Work on a Virtual Number
Virtual numbers operate through:
-
Wi-Fi
-
Mobile data
When someone calls your virtual number:
-
The call arrives in the app
-
You answer like a regular call
-
You can also forward it to your real number
If internet connectivity is weak, call quality may drop.
Using a Virtual Number for Business
Many small businesses use virtual numbers because:
-
It looks professional
-
You can add auto-attendants
-
Calls can be recorded
-
Multiple team members can access one number
For example, businesses using platforms like RingCentral can route calls to different departments without physical hardware.
Free vs Paid Virtual Numbers
Here’s a quick breakdown:
Free options usually offer:
-
Limited features
-
Ads (sometimes)
-
Basic calling and texting
Paid plans offer:
-
Better call quality
-
Advanced call management
-
Business integrations
-
Customer support
-
International features
If you’re using it for serious business, paid is usually better.
Common Issues and Solutions
Call Quality Problems
Solution:
-
Use strong Wi-Fi
-
Avoid crowded networks
-
Switch to better data connection
SMS Not Supported
Some countries restrict SMS for virtual numbers. Always check before buying.
Verification Problems
Some apps don’t accept virtual numbers for account verification (like banking apps). In those cases, use your real number.
Is It Legal to Use a Virtual Number?
Yes, in most countries it is legal.
However:
-
Don’t use it for fraud
-
Follow local telecom regulations
-
Use it responsibly
Always check your country’s rules.
Advantages of Setting Up a Virtual Number
-
No second SIM required
-
Easy to manage
-
Affordable
-
Global accessibility
-
Works on multiple devices
You can even use the same number on:
-
Smartphone
-
Tablet
-
Laptop
All synced through the app.
Things to Consider Before Setting Up
Before choosing a provider, check:
-
Monthly cost
-
International call rates
-
Data usage
-
Customer support
-
Porting options
If you want long-term use, make sure the provider allows number portability.