
What is Process Mapping?
A process mapping is a planning and management tool that visually describes the workflow. Through process mapping software, process maps show a series of events that lead to a result.
A process map is also known as a flow chart, process flow chart, process chart, functional process chart, functional flow chart, process model, work flow chart, business flow chart, or business flow chart.
And also, it shows involvement in a process and can use in any business or organization and pinpoint areas where a function needs improvement.
Purpose of Process Mapping
The purpose of process mapping is for organizations and companies to improve efficiency. Process maps provide information about a process, help teams generate ideas for process improvement, improve communication, and provide process documentation.
And also, process mapping identifies bottlenecks, repetitions, and delays. They help define process boundaries, process accountability, process responsibilities, and effectiveness measures or process metrics.
Understanding of the Process Mapping
One of the major purposes of process mapping is to gain a better understanding of a process. And also, the following flowchart is an excellent example of using process maps to understand and improve a process. In this diagram, the circle represents pasta making.
While this is a very simplified example of a process map, many parts of the business use similar diagrams to understand processes and improve process efficiency;
Advantages of Process Mapping
Process mapping makes waste visible, streamlines work processes, and creates understanding. And also, Process mapping allows you to visually communicate the essential details of a function instead of writing bulky instructions.
Flow charts and process maps use to:
- Improve understanding of a process;
- Analyze how a process could improve;
- Show others how a process works;
- Improve communication between people involved in the same process.
- Provide process documentation;
- And also planning projects.
Process maps save time and simplify projects because:
- Create and accelerate project design;
- Provide effective visual communication of better ideas, information, and data.
- It helps with problem-solving and decision-making.
- Identify problems and possible solutions.
- It can build quickly and inexpensively.
- Show step-by-step processes and use easy-to-understand symbols.
- Show detailed connections and processes.
- And also, show a complete process from start to finish.
Process maps help you understand the critical characteristics of a process so that you can produce valuable data for troubleshooting. Process maps allow you to ask strategically essential questions that will help you improve any process.
Types of Process Mapping
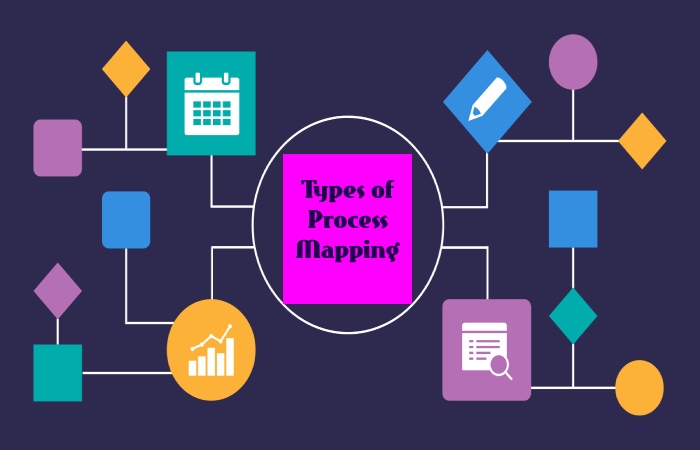
Process mapping is about sharing your process with others. You can use process maps to understand better. The most common types of process maps include:
Activity Process Map: It represents the activities that add value and those that do not add value in a process.
Detailed Process Map: And also, it provides a much more detailed view of each step in the process
Document Map: The documents are the inputs and outputs of a process.
High-Level Process Map: The high-level representation of a process with interactions between supplier, input, process, output, customer (SIPOC).
Rendered Process Map: It displays current and future processes to show areas for process improvement.
Lane Map (or Cross-Functional): It separates the responsibilities of the sub-processes in the process.
Value Chain Diagram: It separates boxes representing a highly simplifies version of a process for quick understanding.
Value Stream Map: A lean management technique that analyzes and improves the processes required to manufacture a product or provide a service to a customer.
Workflow Diagram: A work process presented in a “flow” format. And also, it does not use Unified Modeling Language (UML) symbols.
Symbols of Process Mapping
The key elements of the process mapping include actions, activity steps, decision points, functions, inputs/outputs, people involved, process measures, and expenditure of time.
In a process map, basic symbols are used to describe the critical elements of the process. And also, a specific sign represents each aspect of the process.
Example: an arrow, a circle, a diamond, a box, an oval, or a rectangle. Also, these symbols come from the Unified Modeling Language or UML, an international standard for drawing process maps.
Business of Process Mapping
In business, a process is a group of interrelated tasks that occur due to an event. These tasks lead to the desired result for the customer.
Process mapping can use in many business areas: business process improvement, business process redesign, reengineering, training, quality improvement, simulation, information technology, work measurement, documentation, process analysis, design of operational processes, integration of processes, acquisitions, mergers, and also the sale of businesses.
And also, business process mapping can also help comply with manufacturing and service industry regulations: B. the joint ISO 9000 (International Organization for Standardization) or ISO 9001.
How to Create a Process Mapping?
The process mapping simplifies thanks to software that enables a better understanding of the processes. And also, process maps can create in standard programs such as Microsoft Word, PowerPoint, or Excel, but there are also other more customized programs for creating a process map.
Process mapping is about sharing your process with others so that you can achieve your management goals. And also, knowing how to do process mapping will help you develop more robust communication and understanding in your organization.
Step 1: Identify the Problem
Which process should visualize?
Write the title on the top of the document.
Step 2: Brainstorm the Activities Involved
At this point, the order of the steps isn’t essential, but it can help you remember the actions required for your process.
Decide what level of detail you want to include.
Determine who does what and when.
Step 3: Discover the Limits
Where or when does the process begin?
Where or when does the process end?
Step 4: Identify and Arrange the Steps
It is helpful if the description starts with a verb.
And also, it can show the general process or any detailed action or decision.
Step 5: Draw Basic Flowchart Symbols
A specific flowchart symbol represents every element in a process map. Lucidchart makes it easy to create and rearrange shapes, add labels and comments, and also even use custom styles in your process map.
- The ovals show the start of a process or the stop of a process.
- The rectangles show an operation or activity that needs to perform.
- Arrows represent the direction of flow.
- Diamonds indicate a point at which we can make a decision. Arrows that come out of a diamond are usually marked yes or no. Only one indicator comes out of an activity box. And also, if it takes more than necessary, you should probably use a decision diamond.
- And also, a parallelogram shows entrances or exits.
Step 6: Completing the Process Flow Diagram
Review the flowchart with other stakeholders (team member, worker, supervisor, supplier, customer, etc.) for consensus.
Make sure you have included important chart information such as the title and date for easy reference.
- Helpful questions to ask:
- Is the process going as it should?
- Will the team members follow the process outlined?
- Does everyone agree to the process map?
- Is there anything extra?
- And also, are we missing a step?
Process maps provide valuable information on how a company or organization can improve processes. And also, the visual representation of important information promotes understanding and collaboration on every project.